
High tunnels & ham sliders
/It might still be February outside but we are ready for warm weather and some fresh vegetables over here! And FOR THE LOVE of all that is good and holy whoever is praying for rain right now, please stop! At this point, I’m not sure I could locate a pair of sunglasses if I needed them.
We’ve had some big projects happening this winter including adding two grain bins for additional storage and most recently, a high tunnel! (A high tunnel is basically a greenhouse but you plant the plants directly in the ground instead of just in trays. I was unaware of the difference. The more you know, right?!).
Tyler purchased the high tunnel from another farm who was no longer using it. It was in great shape except for the plastic so the guys disassembled it in early January and brought all the pieces home on a trailer.

(Taking the high tunnel down at its old home 1.8.19)
We had a spot picked out for it, but it took some fence clearing and soil testing to find the perfect place for it to live. Then (after being pushed back a few times due to weather) a team out of Elkton, KY came out to install it over near our vegetable patch. And let me tell you...these guys have it down to a science. I left for work in the morning and by the time I came home around 3:00 it had gone from a bunch of metal on a trailer to this:
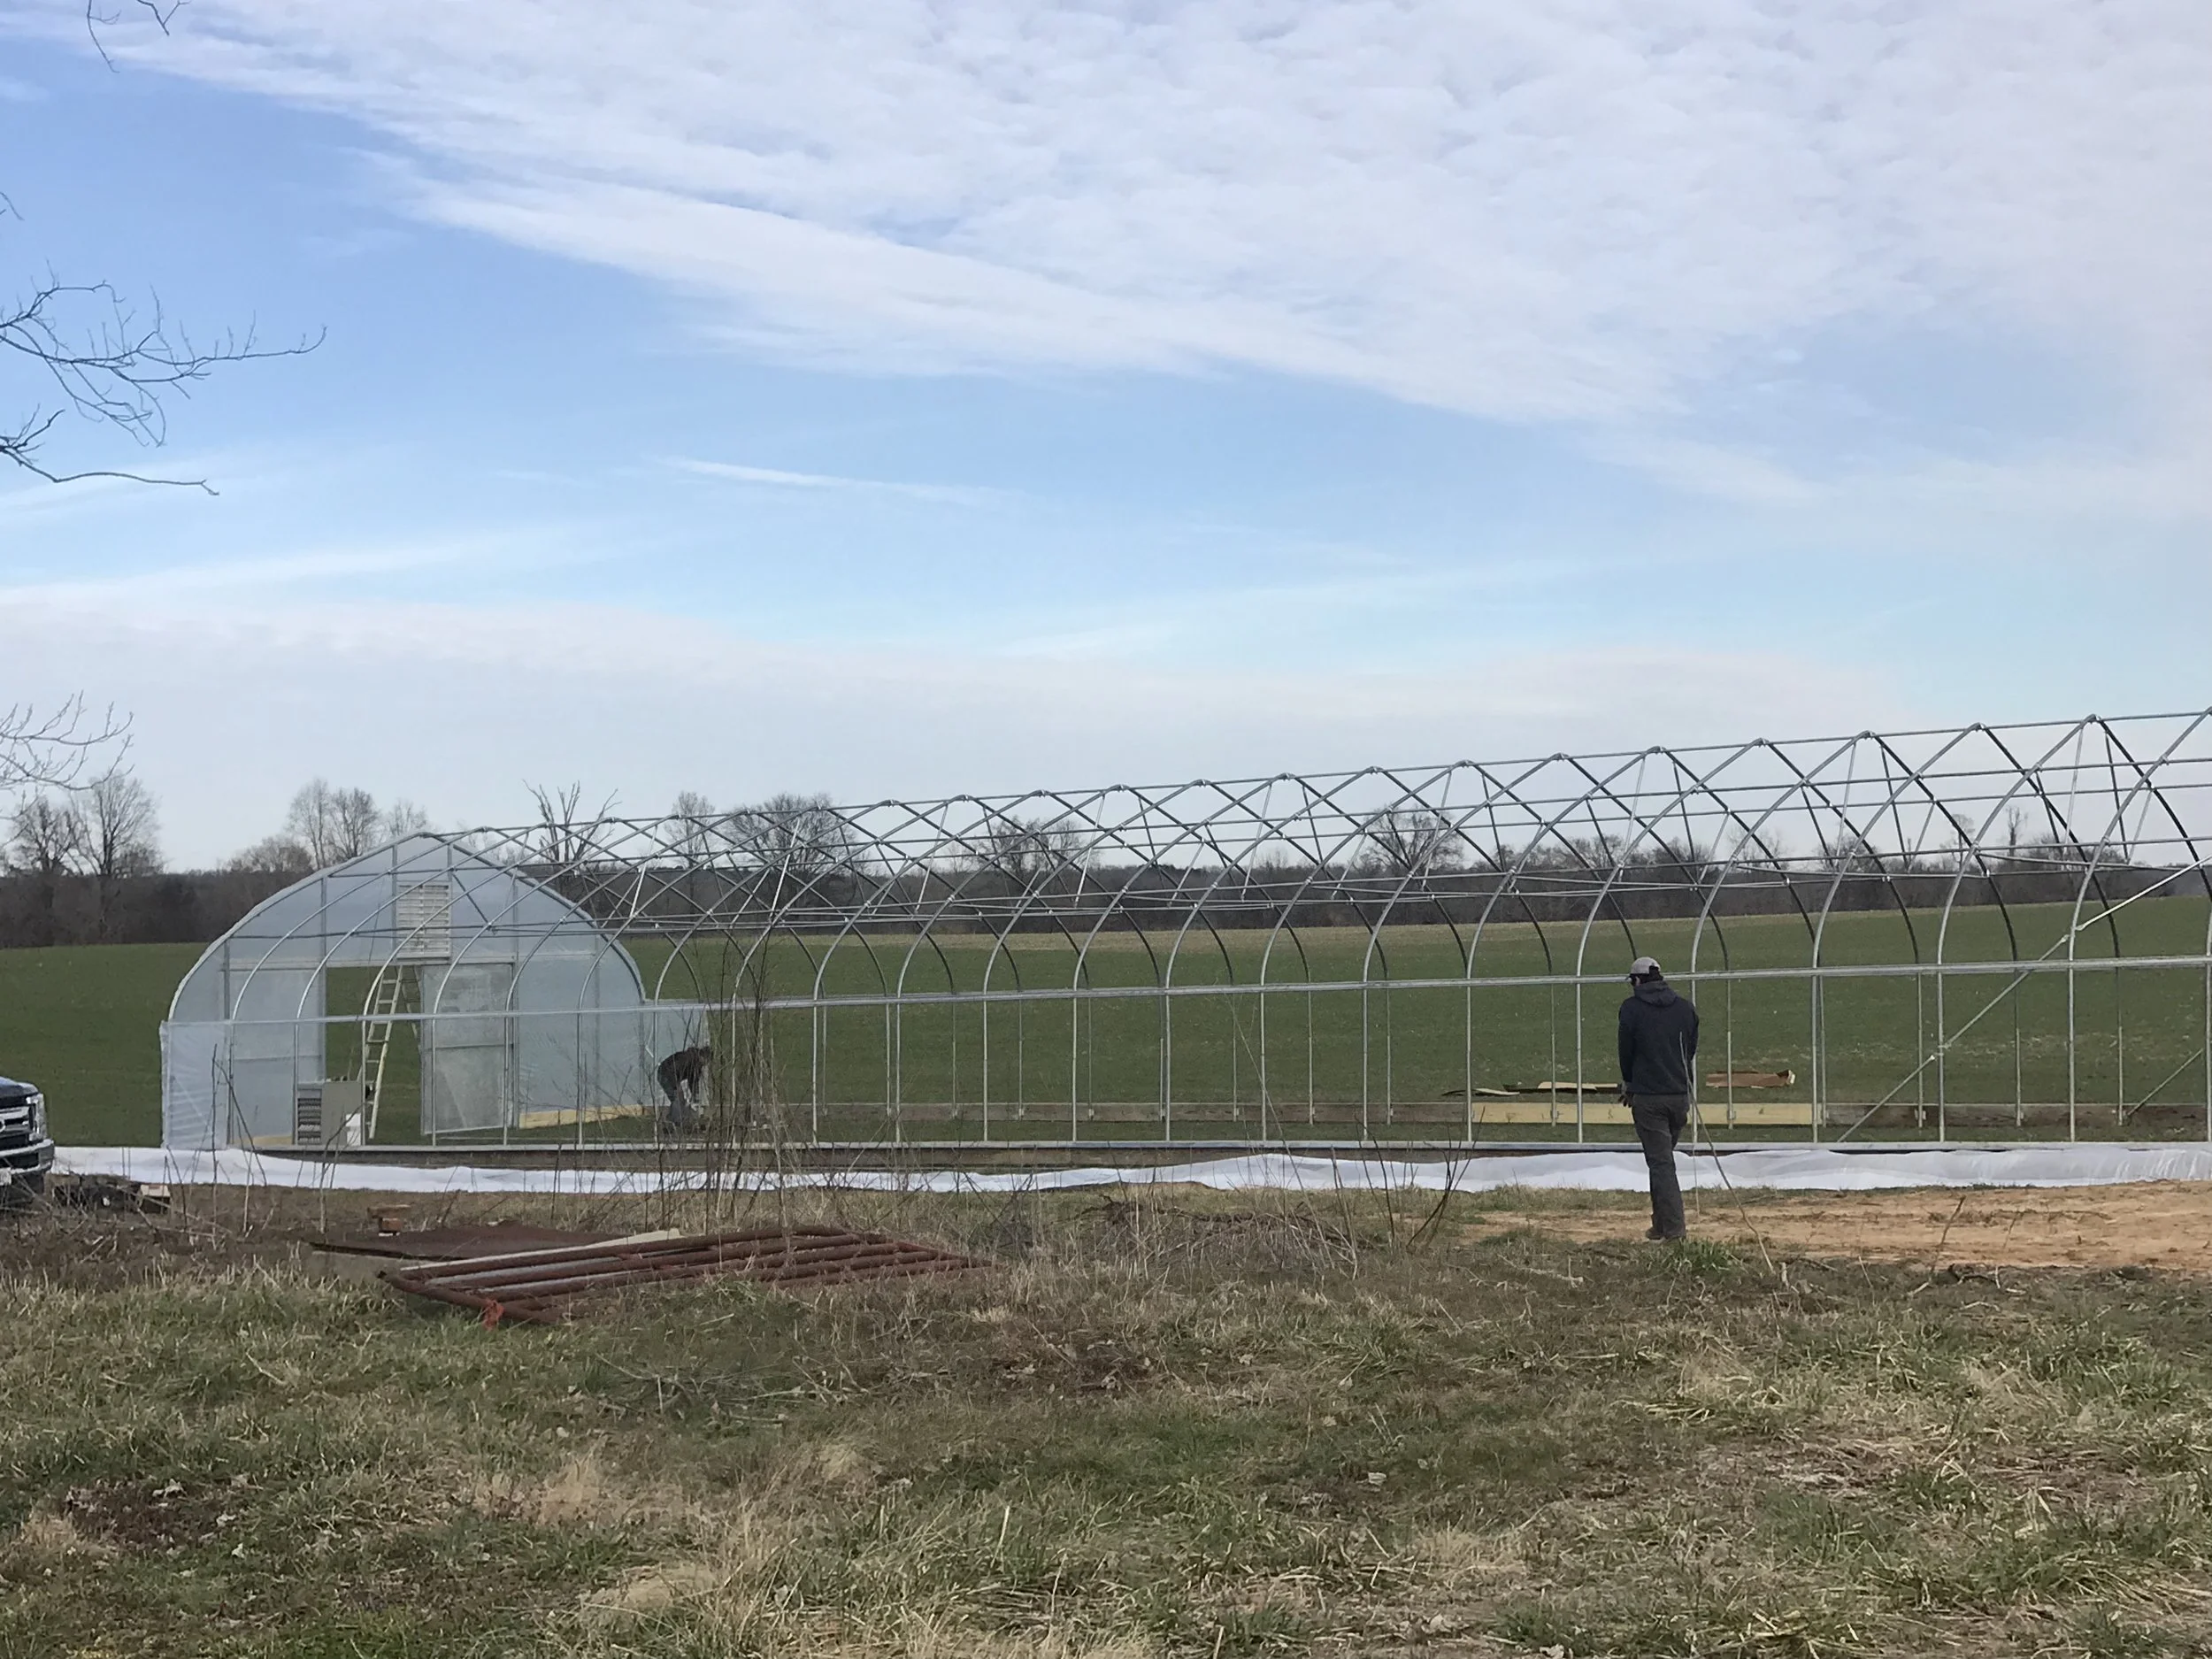
(high tunnel install 1.31.19)
I showed up just in time to watch them put the plastic up. These pictures were all taken from 3:03 to 3:09 pm...I’m telling y’all these guys were MOVING! They rolled the plastic out, then they all spread out and climbed it up over the frame. I was seriously amazed at how fast it went! And also had a lot of anxiety watching them crawl all over that thing!
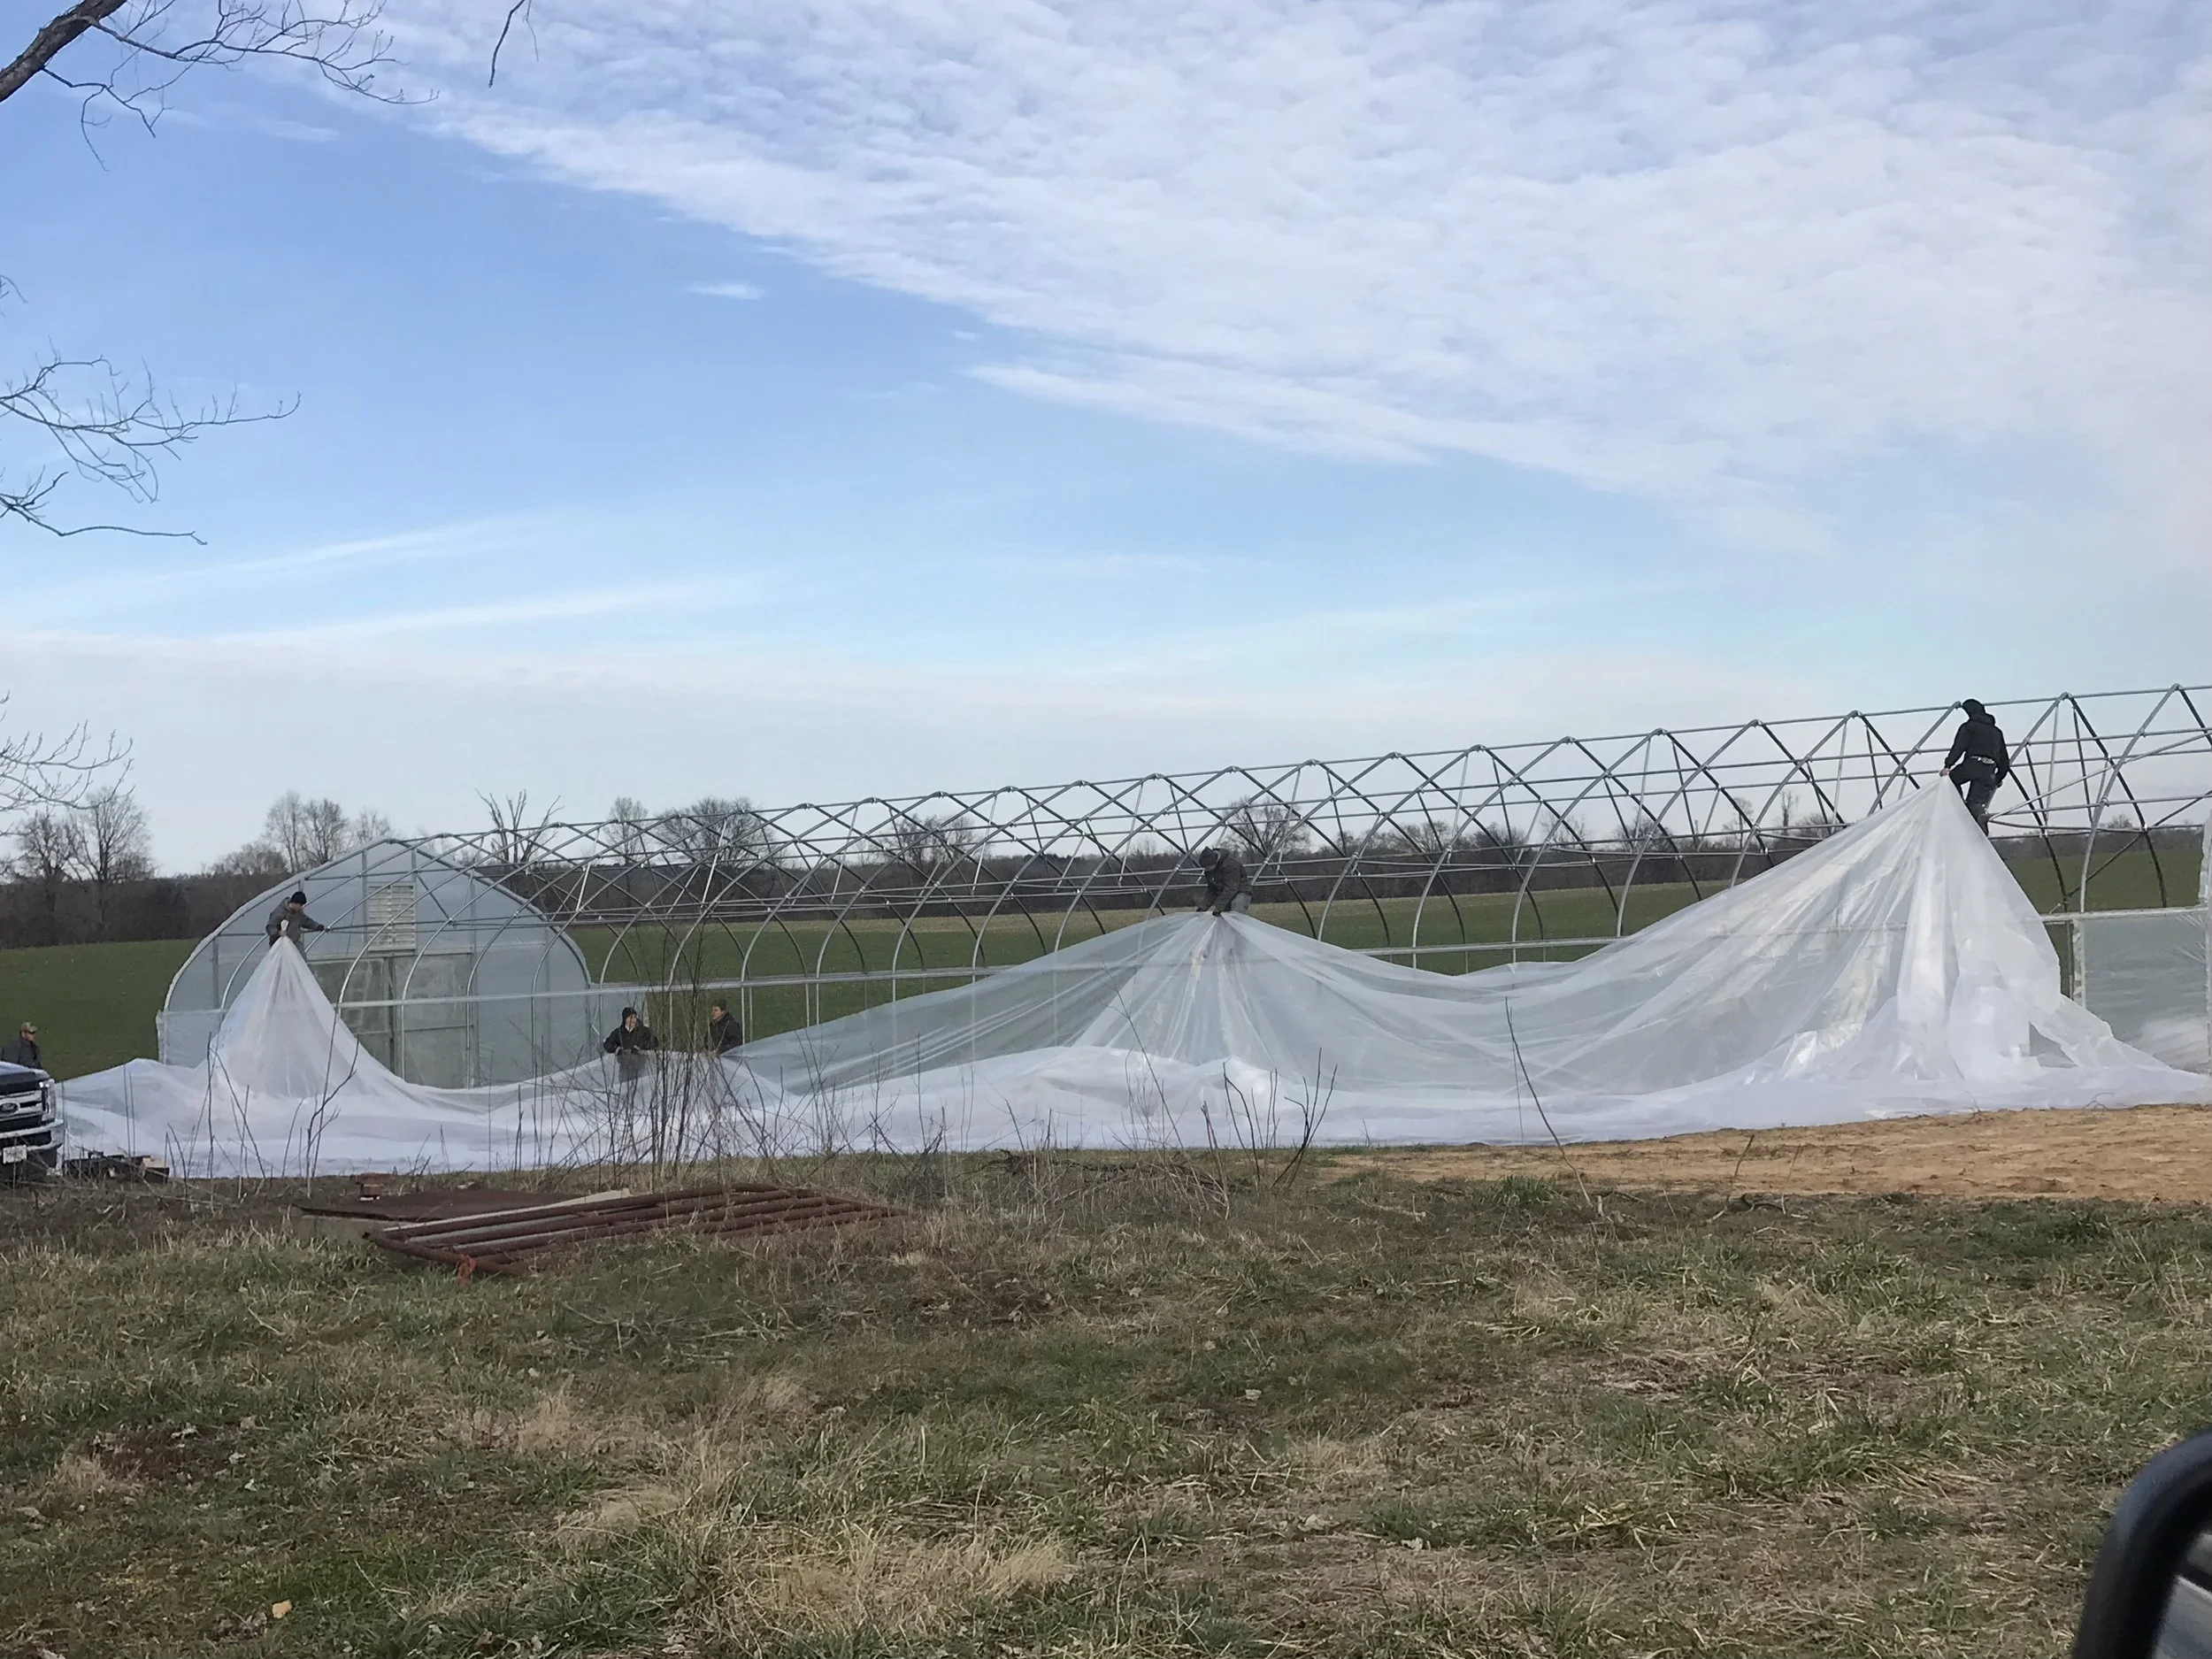


Oh, and it was approximately 20 degrees this day so I apologize in advance for the picture quality but I was not about leaving my heated seats for a better photo :)
The goal is to have tomato plants in the ground in the tunnel around March 8th. Tyler started the plants about two weeks ago and until they got too big, they made great kitchen table decor 🙄

They now have been moved to trays and are hanging out in our friend’s greenhouse until it’s time to plant. If you look closely, you’ll notice that back by popular demand are the pink girls! Everyone flipped for the pink girls and we couldn’t keep them in stock so I’m happy he decided to grow them again!
And if you’re only here for the ham sliders, now at least you know the difference between a greenhouse and a high tunnel. Just in case you ever find yourself in some sort of agriculture jeopardy situation, now you’re prepared.
My family was in town last weekend to help us paint (and by the way if you ever decide to paint fake wood paneling know that it is awful. Like 4787846 times more awful than painting drywall).
So instead of having to stop and go get lunch, I prepped some sliders so we could grab them as we got hungry. This is a recipe of my mom’s that I’ve tweaked because I don’t like ham. Yes, I eat pulled pork, bacon, breakfast sausage and lots of other pork...I just am grossed out by ham. I haven’t eaten it in 33 years and nothing anyone can say will make me try it. I fully realize this is weird, but it is what it is. Anyways, make these for a crowd and they will be gone in a second!
Ham (and turkey) Sliders
1 package sweet Hawaiian rolls (I buy the 18 pack)
1/2 lb sliced deli turkey
1/2 lb sliced deli ham
1/2 lb Swiss cheese
1/2 lb provolone cheese
1 stick butter
2 tablespoons Dijon mustard
2 teaspoons Worcestershire sauce
2 teaspoons minced dried onion
Preheat oven to 350 degrees. Spray the bottom of a disposable lasagna pan with a light coat of cooking spray. Use a bread knife to cut the entire package of rolls in half (see photo below). Top half of the rolls with turkey and provolone. Top the second half with ham and Swiss cheese.

Set the top halves of the tools back on top of your layered meat and cheese. In a microwave safe bowl, melt your butter then stir in onions, mustard, and Worcestershire. Pour mixture on top of rolls, using a brush or spatula to even put the mixture.

Bake for 15 minutes or until tops start to get brown and cheese is melted.
You can always make the sandwiches ahead of time as well. Just pop in the refrigerator after you drizzle the butter mixture on top and bake when you are ready! These are a perfect way to use up lunch meat you might have in the fridge and one of the things I make all the time when the guys are busy during harvest and need a grab and go lunch.

We are headed to the Farm Show in Louisville this week and hoping the swamp that is our yard has dried up a little when we get back. Stay dry friends!
Follow our our daily happenings on Facebook and Instagram at @futurevisionsfarmstn